 EnergyPlus Window Shade Generator - [source code]
Use this component to generate shades for Honeybee zone windows. The component has two main uses: The first is that it can be used to assign shade objects to HBZones prior to simulation. These shades can be dynamically controlled via a schedule. Note that shades created this way will automatically be assigned to the zone and the windowBreps and shadeBreps outputs are just for visualization. The second way to use the component is to create test shade areas for shade benefit evaluation after an energy simulation has already been run. In this case, the component helps keep the data tree paths of heating, cooling and beam gain synced with that of the zones and windows. For this, you would take imported EnergyPlus results and hook them up to the "zoneData" inputs and use the output "zoneDataTree" in the shade benefit evaluation. -
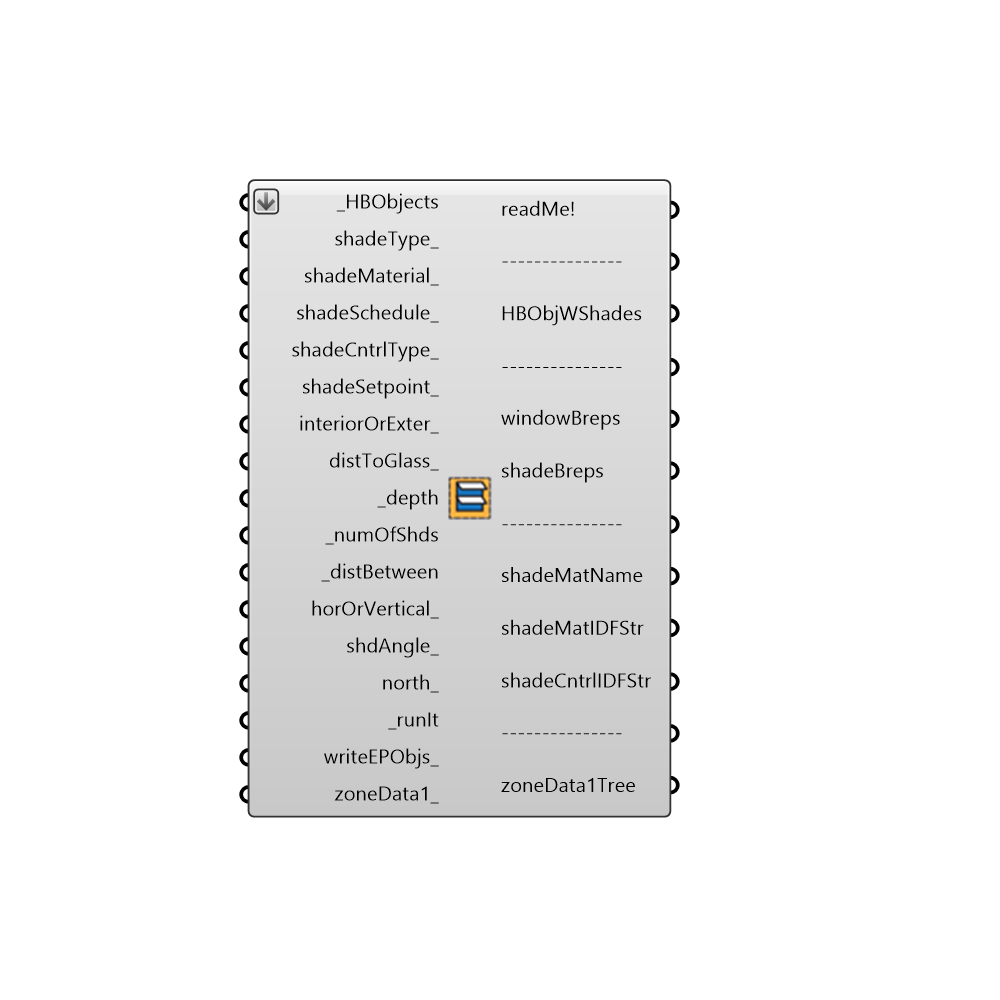
Inputs
HBObjects [Required]
The HBZones or HBSurfaces out of any of the HB components that generate or alter zones.shadeType [Optional]
An integer to specify the type of shade that you wish to assign to the windows. The default is set to 0 = blinds. Choose from the following options: 0 = Blinds - typical venetian blinds that can be either on the interior or exterior of the glass. 1 = Shades - either a fabric roller shade or a perforated metal screen that transmits light more evenly than slatted blinds. 2 = Swtichable Glazing - represents electrochromic glazing that can be switched on to reflect the material state of the shadeMaterial_.shadeMaterial [Optional]
An optional shade material from the 'Honeybee_EnergyPlus Shade Material' component. The default blinds or shade material has 0.65 solar reflectance, 0 transmittance, 0.9 emittance, 0.25 mm thickness, 221 W/mK conductivity.shadeSchedule [Optional]
An optional schedule to raise and lower the shades. If no value is connected here, the shades will assume the 'ALWAYS ON' shcedule.shadeCntrlType [Optional]
An integer represeting the parameter that controls whether the shades are on (down) or off (up). The default is set to 0 = OnIfScheduleAllows. If no schedule is connected, the shades are assumed to always be down. Choose from the following options: 0 = OnIfScheduleAllows - Shading is on if the schedule value is non-zero and is AlwaysOn if no schedule is connected. 1 = OnIfHighSolarOnWindow - Shading is on if beam plus diffuse solar radiation incident on the window exceeds SetPoint (W/m2) below and schedule, if specified, allows shading. 2 = OnIfHighHorizontalSolar - Shading is on if total (beam plus diffuse) horizontal solar irradiance exceeds SetPoint (W/m2) below and schedule, if specified, allows shading. 3 = OnIfHighOutdoorAirTemperature - Shading is on if outside air temperature exceeds SetPoint (C) below and schedule, if specified, allows shading. 4 = OnIfHighZoneAirTemperature - Shading is on if zone air temperature in the previous timestep exceeds SetPoint (C) below and schedule, if specified, allows shading. 5 = OnIfHighZoneCooling - Shading is on if zone cooling rate in the previous timestep exceeds SetPoint (W) below and schedule, if specified, allows shading. 6 = OnNightIfLowOutdoorTempAndOffDay - Shading is on at night if the outside air temperature is less than SetPoint (C) below and schedule, if specified, allows shading. Shading is off during the day. 7 = OnNightIfLowInsideTempAndOffDay - Shading is on at night if the zone air temperature in the previous timestep is less than SetPoint (C) below and schedule, if specified, allows shading. Shading is off during the day. 8 = OnNightIfHeatingAndOffDay - Shading is on at night if the zone heating rate in the previous timestep exceeds SetPoint (W) below and schedule, if specified, allows shading. Shading is off during the day. 9 = OnNightIfLowOutdoorTempAndOnDayIfCooling - Shading is on at night if the outside air temperature is less than SetPoint (C) below. Shading is on during the day if the zone cooling rate in the previous timestep is non-zero. Night and day shading is subject to schedule, if specified. 10 = OnNightIfHeatingAndOnDayIfCooling: Shading is on at night if the zone heating rate in the previous timestep exceeds SetPoint (W) below. Shading is on during the day if the zone cooling rate in the previous timestep is non-zero. Night and day shading is subject to schedule, if specified. 11 = OffNightAndOnDayIfCoolingAndHighSolarOnWindow: Shading is off at night. Shading is on during the day if the solar radiation incident on the window exceeds SetPoint (W/m2) below and if the zone cooling rate in the previous timestep is non-zero. Daytime shading is subject to schedule, if specified. 12 = OnNightAndOnDayIfCoolingAndHighSolarOnWindow: Shading is on at night. Shading is on during the day if the solar radiation incident on the window exceeds SetPoint (W/m2) below and if the zone cooling rate in the previous timestep is non-zero. Day and night shading is subject to schedule, if specified. (This Shading Control Type is the same as the previous one, except the shading is on at night rather than off.) 13 = OnIfHighOutdoorAirTempAndHighSolarOnWindow: Shading is on if the outside air temperature exceeds the Setpoint (C) and if if the solar radiation incident on the window exceeds SetPoint 2 (W/m2). Note that this option requires you to connect two values to the shadeSetpoint input below. 14 = OnIfHighOutdoorAirTempAndHighHorizontalSolar: Shading is on if the outside air temperature exceeds the Setpoint (C) and if if the horizontal solar radiation exceeds SetPoint 2 (W/m2). Note that this option requires you to connect two values to the shadeSetpoint input below. 15 = OnIfHighGlare: Shading is on if the glare index in the zone exceeds the maximum Discomfort Glare Index (DGI) specified below. Common maximim DGI values are 22 for Offices, 20 for Museums or Classrooms, 18 for Hospital Wards, and 16 for Art Gallereies. In the input below, you should specify a list of 2 values that includes the DGI as a first value and a vector for the second value, which represents the direction that the occupant view is facing. It will be assumed that the occupant is in the center of the zone by default and you can change this potition by adjusting the daylightCntrlPt_ input of the "Honeybee_Set ZoneThresholds" component. 16 = MeetDaylightIlluminanceSetpoint: Useable only with ShadingType = SwitchableGlazing. In this case, the transmittance of the glazing is adjusted to just meet the daylight illuminance set point assinged with the "Honeybee_Set ZoneThresholds" component. If no setpoint is assigned with this component, this component will assume a default illuminace setpoint of 300 lux. As such, there is no need to specify a setpoint below unless you also want the EC glazing to be further dimmed when there is glare in the zone, in which case the setpoint below should be a DGI value and vector representing a view as states in option 15 (OnIfHighGlare).shadeSetpoint [Optional]
A number that corresponds to the shadeCntrlType_ specified above. This can be a value in (W/m2), (W), (C), or (DGI) depending upon the control type.interiorOrExter [Optional]
Set to 'True' to generate Shades on the interior and set to 'False' to generate shades on the exterior. The default is set to 'False' to generate exterior shades.distToGlass [Optional]
A number between 0 and 1 that represents the distance between the glass and the shades in meters. The default is set to 0 to generate the shades immediately next to the glass.depth [Required]
A number representing the depth of the shade to be generated on each window. You can also input lists of depths, which will assign different depths based on cardinal direction. For example, inputing 4 values for depths will assign each value of the list as follows: item 0 = north depth, item 1 = west depth, item 2 = south depth, item 3 = east depth. Lists of vectors to be shaded can also be input and shades can be joined together with the mergeVectors_ input.numOfShds [Required]
The number of shades to generated for each glazed surface.distBetween [Required]
An alternate option to _numOfShds where the input here is the distance in Rhino units between each shade.horOrVertical [Optional]
Set to 'True' to generate horizontal shades or 'False' to generate vertical shades. You can also input lists of horOrVertical_ input, which will assign different orientations based on cardinal direction.shdAngle [Optional]
A number between -90 and 90 that represents an angle in degrees to rotate the shades. The default is set to '0' for no rotation. If you have vertical shades, use this to rotate them towards the South by a certain value in degrees. If applied to windows facing East or West, tilting the shades like this will let in more winter sun than summer sun. If you have horizontal shades, use this input to angle shades downward. You can also put in lists of angles to assign different shade angles to different cardinal directions.north [Optional]
Input a vector to be used as a true North direction or a number between 0 and 360 that represents the degrees off from the y-axis to make North. The default North direction is set to the Y-axis (0 degrees).runIt [Required]
Set boolean to 'True' to run the component and generate shades.writeEPObjs [Optional]
Set boolean to "True" to generate EP Objectes that have shades and shade control assigned to them.zoneData1 [Optional]
Optional EnergyPlus simulation data for connected HBZones_ that will be aligned with the generated windows. Use this to align data like heating load, cooling load or beam gain for a shade benefit simulation with the generated shades.
Outputs
readMe!
...HBObjWShades
The conected HBObjects with shades assigned to them. With these HBObjects, there is no need to use the two geometric outputs below. If you have produced a shade geometry that you will not be able to run through EnergyPlus, no objects will be output from here.windowBreps
Breps representing each window surfaces that are being shaded. These can be plugged into a shade benefit evaulation as each window is its own branch of a grasshopper data tree.shadeBreps
Breps representing each shade geometry. These can be plugged into a shade benefit evaulation as each window is its own branch of a grasshopper data tree. If you use the HBObjects above, there is no need to use this output (it is purely visual). However, if no HBObjects are produced, these can be plugged into an EnergyPlus simulation with the 'Honeybee_EP Context Surfaces' component.shadeMatName
The name of the shade material that has been assigned to the EPObjects. This can be used to create EP constructions with the shade in between panes of glass.shadeMatIDFStr
Text strings that represent the shade material that has been assigned to the EP Objects.shadeCntrlIDFStr
Text strings that represent the shade control object that has been assigned to the EP Objects.zoneData1Tree
Data trees of zoneData1Tree, which align with the branches for each window above.
Check Hydra Example Files for EnergyPlus Window Shade Generator